Season 4 Reloaded launched on July 12, bringing the conclusion to Call of Duty: Modern Warfare 2‘s post-launch narrative with the arrival of the final Raid episode, Episode 4. Our full walkthrough will show you how to complete the Raid finale and score this episode’s unique mission rewards.
What are Raids in Modern Warfare 2?
Raids continue the story of Modern Warfare 2’s campaign, and this is a three-player mode with a mix of stealth, action, and puzzle-solving objectives. If you still want to experience the story, you can still go back and play all of the previous Raids. Here’s our full Episode 1: Atomgrad guide and to unlock a Gaz operator skin, our Episode 2’s guide will help you complete the second mission and unlock a Captain Price skin, and completion of the third Raid episode will unlock Alex Keller as a playable operator.
How to complete Episode 4
Find a way to escape
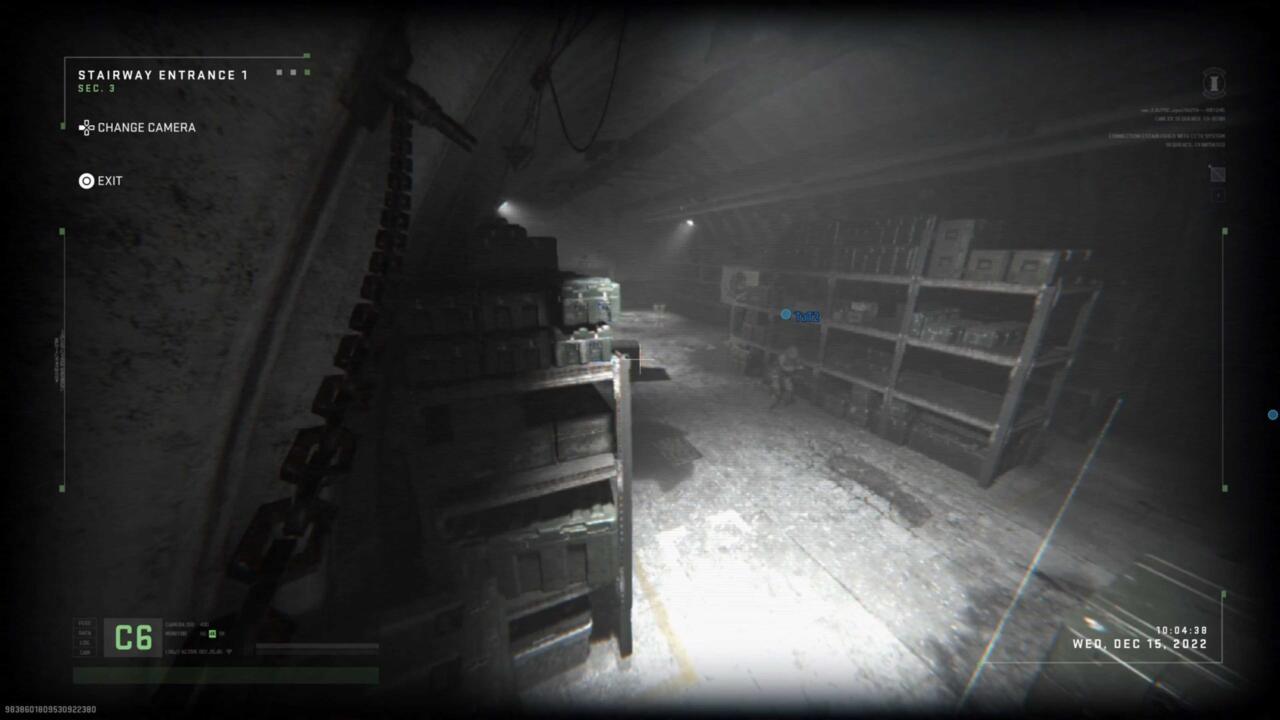
Your trio starts the mission captured, and whoever is playing as Farah will be blindfolded. You’ll need to work together to escape. The other two players will be locked in separate prison cells, but they will have the ability to watch camera feeds. Communication is needed to let the person controlling Farah know when the coast is clear, and Farah will have a button prompt to try and free herself from the chair binds.

Once Farah is free and can walk around, the other two players must use the camera feeds to guide her to escape. This means Farah will need to shuffle around a bit so she can be directed, and there will be a sentry gun with a laser beam the others will need to help her avoid. Once through the rooms, Farah will reach the prison cells. One player will be in charge of distracting the guard with dialogue prompts, while the other can guide Farah closer to help her remove her blindfold. Once the blindfold is removed, she can grab a weapon, kill the enemies guarding the cells, and press a red button on the wall to the right in order to open both of the cell doors.
Using the guns from the guards, you will fight your way through more enemies. Head down the corridor of cells to a busted up staircase and drop down the lower floor. Here there are more enemies to fight, and then you can proceed through a blue set of double doors.
Find Hadir and the warheads
Behind these doors is a place to get geared up with ammo and armor, and you can even select a custom loadout. You can only grab your loadout once here. In some past Raids you could change your mind and swap your loadout, but here you only get to choose once, so pick your loadout wisely. Assault rifles, LMGs, and fully-kitted shotguns work great here. Highly recommend the KV Broadside shotgun kitted with the drum mag for this mission.
From here, you’ll drop down into an underground garage filled with armored vehicles and guards. You can choose to take the guns blazing approach and fight through the passage, using the vehicles as cover, or you can try to catch them off guard by crawling under the vehicles to avoid being spotted. Either way, there will be wire traps you’ll need to defuse and claymores to avoid.
Continue through the area until you reach a well-lit gated door in the back left corner. Take those stairs up top to find a switch that will open the gated path you just passed, then head back down and proceed through the gate.

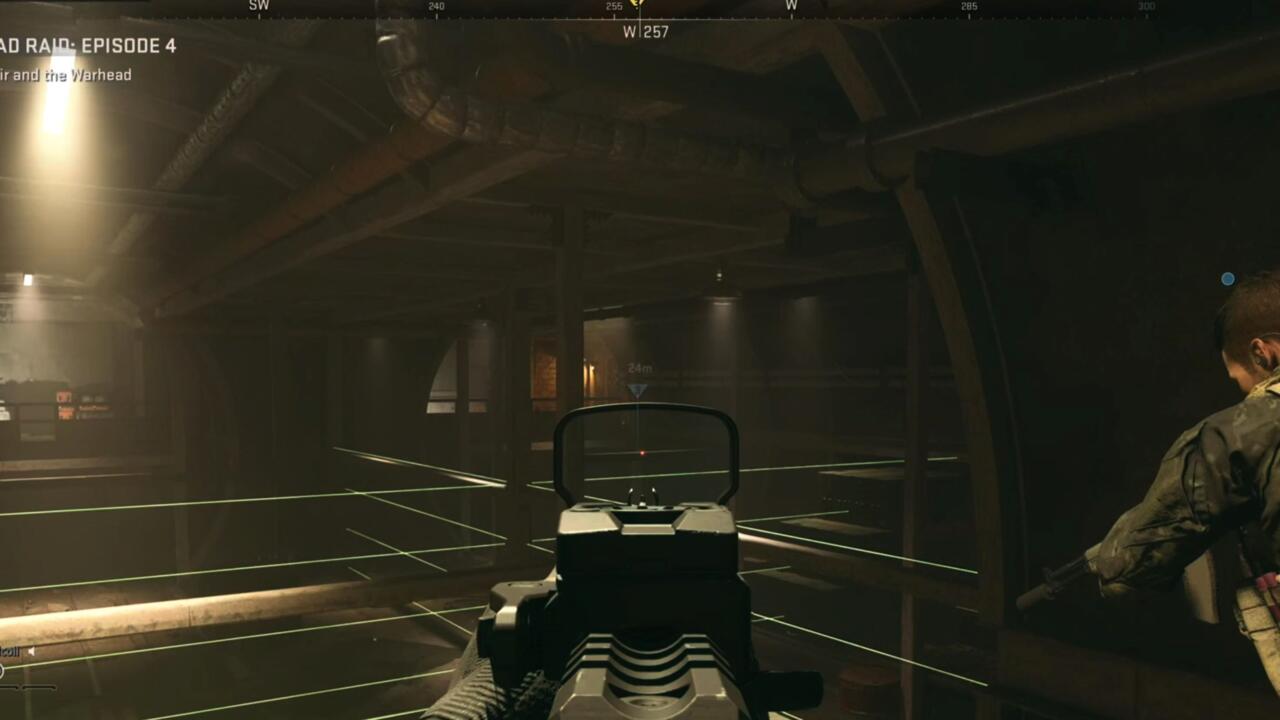
Next, you will come to a hatch in the floor. It’s blocked, and you’ll need to damage the device holding it in place. So, clear the hatch, drop down into a room filled with moving lasers. You’ll need to climb up and jump across the barrels and other various bits of cover to avoid the laser beams on your way to a door on the other side of the room. Taking the path on the right side of the room works great for this. The beams will insta-kill you and force your team to restart.

You do have a checkpoint here, so you wont need to repeat much if you die by the lasers. Just make sure you’re all grouped up before jumping down to the door, as all players will need to be there, and a laser will move close to the door to make it tricky if separated.
Continue through the door which leads to a small room where you need to use a switch to shut off the lasers. Then you can walk back out into the area, and continue through a tunnel, which is filled with more lasers. This section feels fairly easy if you push directly through the middle of the lasers. You’ll see a few bits of cover down the middle, which you can use to avoid the lasers and walk through to the next section to watch the pattern, and follow behind the beams as they move away.
A third section of the room will have more laser beams, but you don’t have much to climb on.
Instead, stick close together and move as the laser moves until you can reach the next doorway. For my team, we hugged the right side cover, and climbed up on the barrels just below a nearby support beam. This let us climb up and mantle up to the door above. This part can be difficult, as there is one rotating beam with more erratic behavior that makes timing the movement pretty difficult. Just use patience and follow the lasers best you can.

The next room will have ammo and armor boxes, so resupply here for the next section. Then, as you pass through the next doorway, make sure to look right immediately to hit a switch that disables the section of lasers ahead.
Take out enemies here and proceed through the tunnel until you reach a set of double doors on the left. This will take up a steep staircase filled with enemies. Beware, they throw grenades down at you and this is a narrow space. Reach the top and you’ll take out a room of enemies, and then look for a vent you can crawl through to proceed.
Find and secure the warhead core
The vent leads you into a puzzle room. This is a control room attached to a maze filled with juggernauts. On the wall you’ll see a live map that is an overhead view of your location inside the control room and for everyone inside the maze.

Press the red button to the left of the map, and this will let someone into the maze. Send two players into the maze, and one person must stay behind to help navigate the maze players and to control the nearby valve in the control room, which is used to turn off the fire that blocks certain parts of the maze.
The person in the control room must lead the maze team down the path avoiding as many juggernaut enemies as possible, and there will be a white square icon with a skull to represent the specific HVT enemy they’ll need to kill. This enemy drops a keycard that is used to unlock the room marked on the map as one of the numbered rooms along the edge of the map. They must unlock the room and grab the warhead core.
Note: You can’t just bully your way through and kill all the juggernauts, as they will just respawn and there are always several on the map. Instead use patience and stealth, guiding the players when the juggernauts have moved away from the route you’re trying to take. You will have to take out a few jugs in the process, but the KV Broadside works fantastic here.
Now, with the core in hand, the control player must help navigate them back to the control room. The core will slow down the player holding it, and they will take radiation damage over time, so the two maze players will want to take turns holding it, passing it like a hot potato.
The person in the control room will have enemies to deal with, all while helping the players escape from the maze, and then hitting the red button again to grant them access back to the control room.
Then all together, head through the open back door of the control room where all the enemies were coming from. Take the core into the next room and you’ll be prompted to place it on a nearby table. You’ll get a checkpoint and can proceed up the stairs.

Find Hadir
Head up the stairs, through double doors, and down a tunnel, and you’ll eventually end up in a larger underground bunker. Everyone must be grouped up at the metal door ahead to proceed. Go through the next room until you’re prompted to use a keycard at a locked door. This must be used by the player who took the keycard from the HVT in the maze. This opens up to a pathway with more ammo and armor, so restock before the fight ahead.
Get on top of the elevator and stop Hadir
The pathway leads you to Hadir, who is fleeing in an elevator. You don’t have a lot of time to look around in this section, as Hadir will flee if you take too long.
There is an ascender rope that takes you to the seventh floor. Fight your way through enemies and look for stairs leading up to the eighth floor. Take out the enemies, and press a red button to get through a locked gate. Continue on the path of enemies and through a second locked gate with a red button.
Proceed to the ninth floor and head out to the platform where the elevator is rising up. You want to jump on top of the elevator and melee the counterweights that anchor it. The elevator drops really fast, so either leave someone behind, or you need to make sure you all hop off the elevator and onto a nearby ledge quickly.

Once the elevator crashes, you’ll need to head back down to the bottom to pry the doors open.
Back on ground level you will need to clear the level of any remaining enemies and all players must be at the elevator to pry the doors open. More enemies swarm you here, including riot shielders and multiple juggernauts. This can be awful if you stay on the ground floor. The easiest method seems to be fleeing up to the tops of the staircases on the right and left, as this only gives the juggernauts two places to reach you. Kill the closest juggernaut to you, and pick up his minigun to make light work of the remaining enemies. The KV Broadside is also really clutch here.
Once clear, return to the elevator doors to complete the episode and watch the final story cinematic for Modern Warfare 2.
Raid Episode 3 rewards
You will unlock the Fighting Spirit operator skin for Farah, and you will also receive one of the random rewards, such as a calling card, loading screen, or weapon charm. You can keep repeating the Raid to collect them all. Completing the Raid on veteran difficulty will reward you with the Projectile weapon camo.
The products discussed here were independently chosen by our editors.
GameSpot may get a share of the revenue if you buy anything featured on our site.

